Winter is Coming!

I bought a DKNY wool coat at Goodwill for $10. And it's really nice and all, it just needed a little spicing up! So I decided to use my faux chinchilla fur I've had for forever to make a fur collar to go on top. And it is just enough to make the coat look fabulous.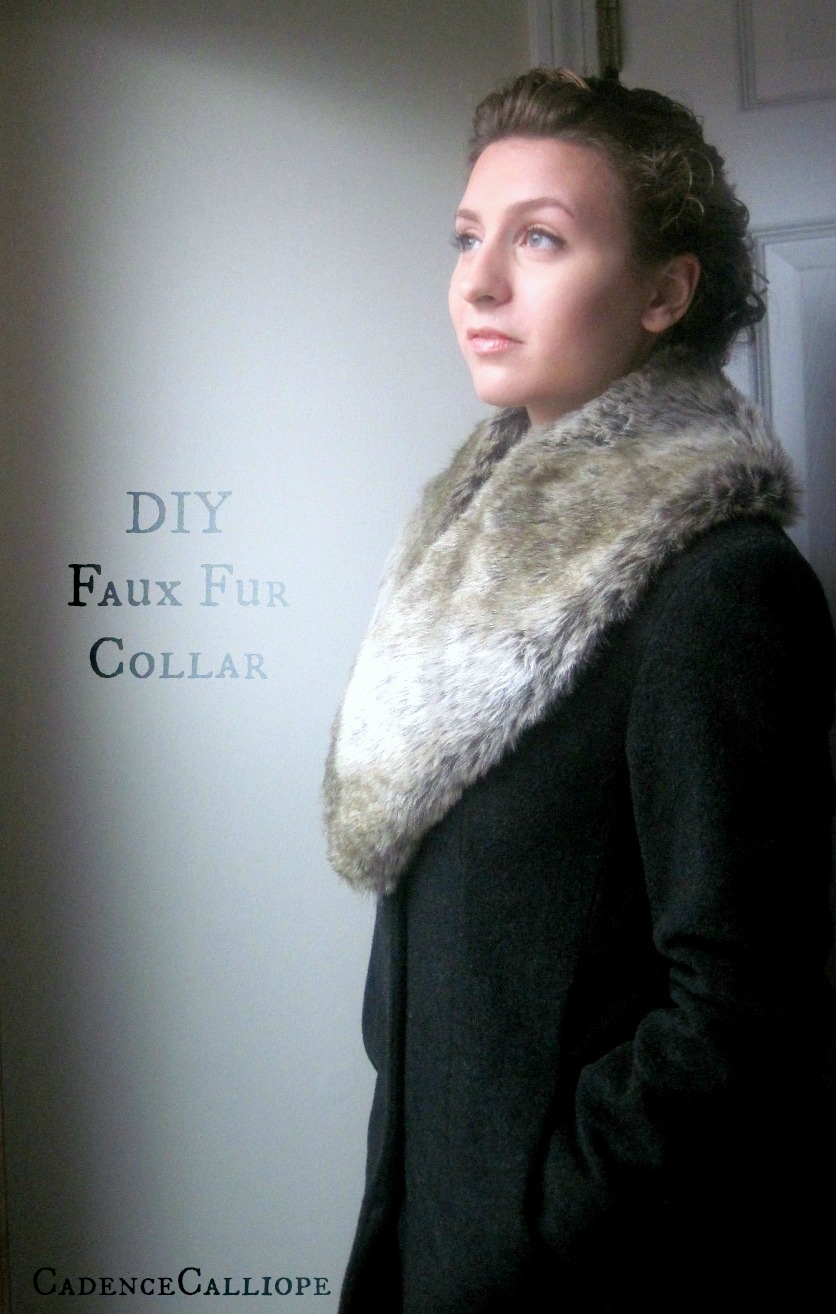
The Inspiration:
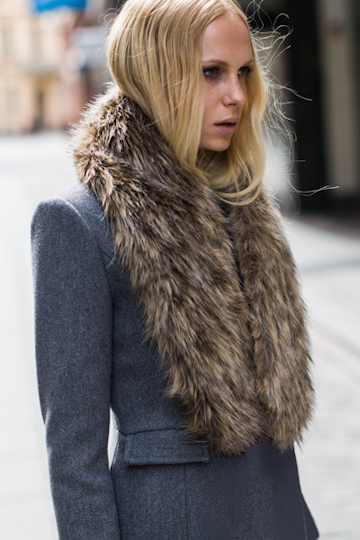

DIY Fur Collar Tutorial
You will need:
Faux fur (mine is from fabric.com)
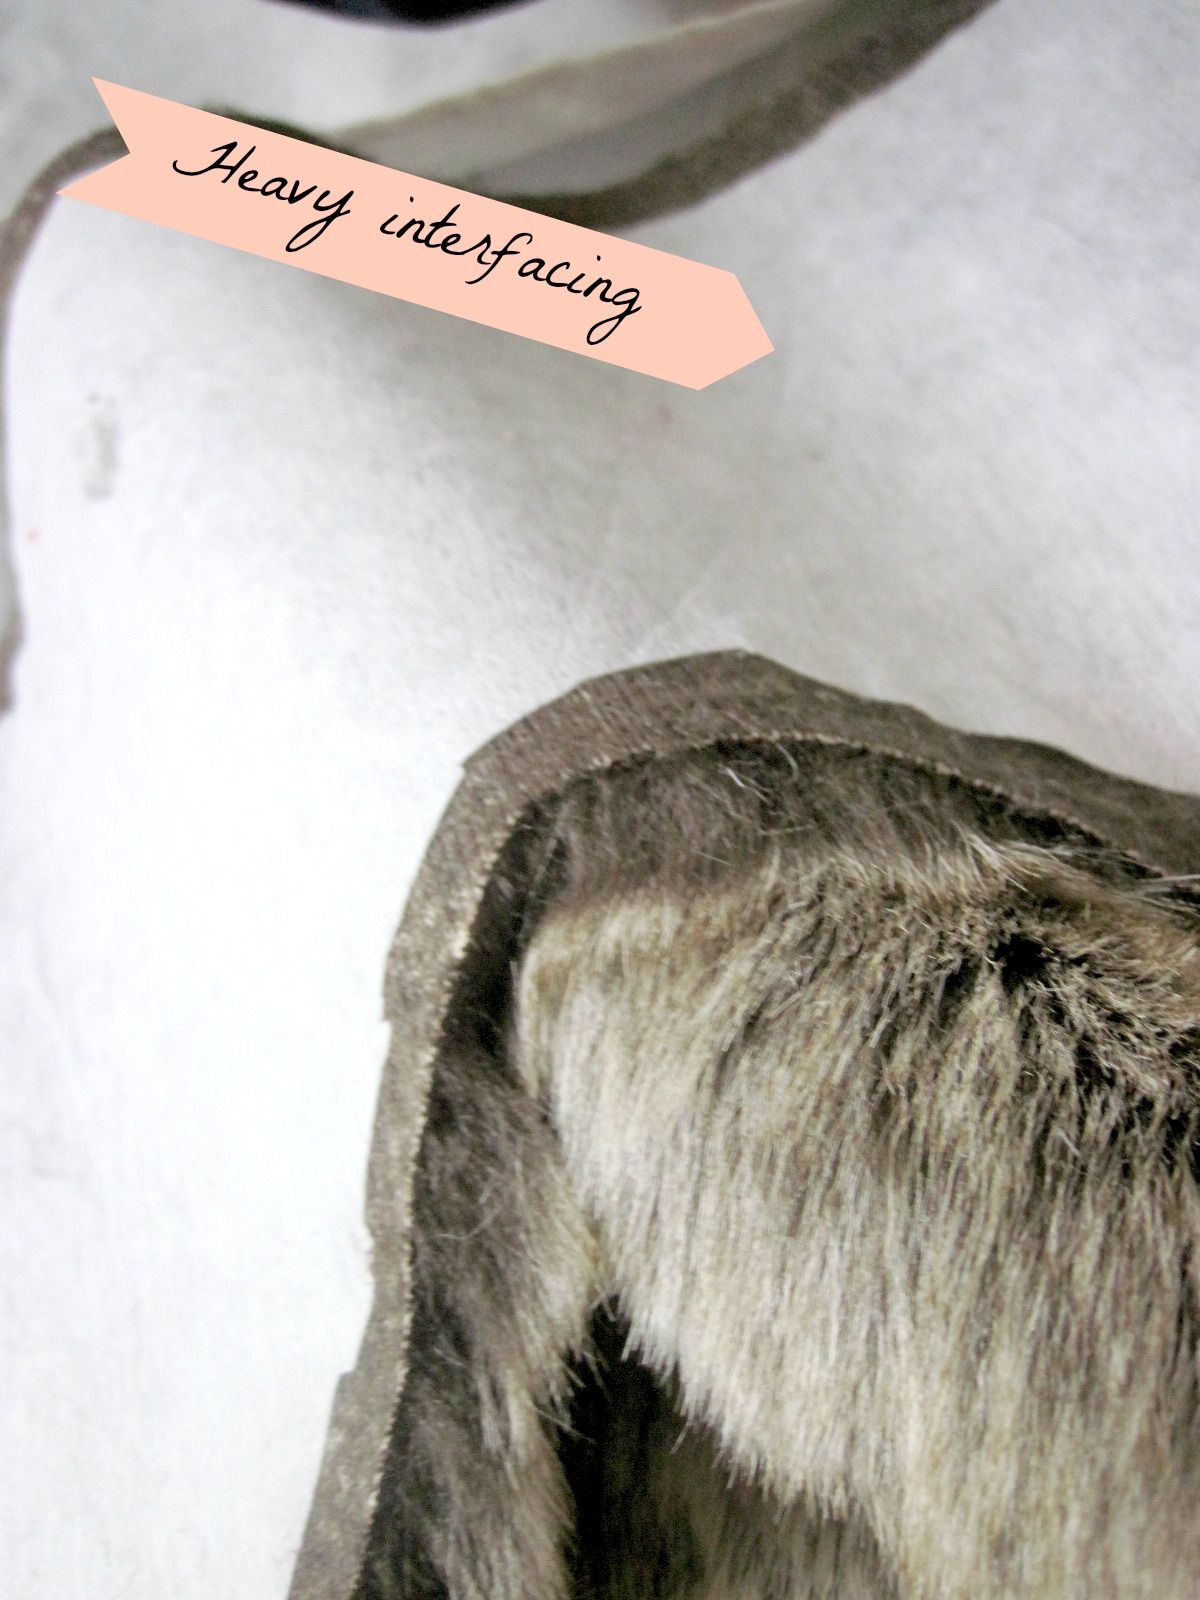
Heavy interfacing (I had heavy fusible interfacing around)
Lining fabric (from the scrap pile at Joann Fabrics)
Pattern paper (or old wrapping paper, like I used!)
Good fabric shears
Good fabric shears
Pins, needle, and thread
Sweater clasp or fur hooks (in the button aisle)
Sweater clasp or fur hooks (in the button aisle)
Let's get started!
I just sort of organically made my pattern through trial and error, but here's a crude set of measurements that may help you make your own.

I rounded out my rough pattern and added a 1/4" seam allowance once I was happy with the shape.

I suggest working with finalizing half the pattern, and then copying it over to a folded sheet of paper so that you end up with one large, symmetrical pattern!


Cut out your fur!
This can get messy, here's some tips!
Cut your fabric so nap of the fur faces vertically downward on your collar.
Pin the pattern to the back of the fabric.
NEVER cut fur on a fold!
Cut with small snips at the very base of the fabric (see photo below).

Making small snips prevents you from giving your fur a weird haircut and also prevents rogue fur from detaching and flying everywhere!

Your collar needs a little structure, so add some interfacing. I used the iron-on version and it was quick and easy. I didn't put any in the seam allowances.
Cut out a silky lining! Cutting it 1/4" smaller than your fur will help the fur to roll to the underside of the collar so you won't see the lining while wearing it.

Press your lining so your seam allowance goes to the underside.

Put your lining and fur wrong sides together, and sew up the raw edges with a whip stitch. I sewed just inside the seam allowance of the pressed lining and 1/4" on the right side of the faux fur, because I couldn't press it to the wrong side.
Yes, I used blue thread, so sue me.

Here's what that hem looks like when it's done. See how the fur rolls to the underside?

Now just sew on a clasp to the lining to wrap this bad boy up.
And voila, you're done!
Go take your luxe, fuzzy creation out for a spin!

This goes well not only with your coat, but over V neck cardicans, sweaters, anything, really! It makes a cute scarf if you pin it with a brooch, too. 

Did you like this [long awaited] tutorial? Will you make one of these for yourself? If so, I want to see it! Leave any comments or questions below.
XOXO Joanna
Stay crafty, my friends!
Looks lovely and great tutorial, I shall be giving this a go. Thanks
ReplyDeleteThanks for some good tips
ReplyDeleteThanks for such a fab tutorial! I used it to make a collar for a thrifted jacked I wore on my wedding day :-)
ReplyDeleteThanks this was very helpful to me. I have a Persian fur coat and needed some ideas.
ReplyDelete